Synchronizing Camera Clocks
Synchronize the clocks on two cameras via a network. The clock on one camera (the “remote camera”) is set to the time on the other (the “master camera”). The changes apply to all options in the setup menu [] display.
-
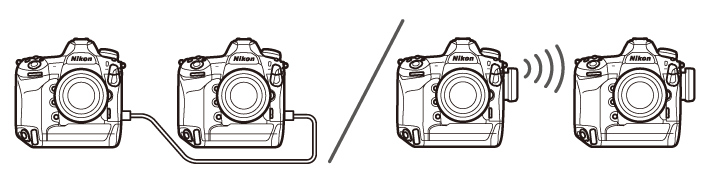
The cameras can connect via Ethernet or by WT-6 wireless transmitters attached to both cameras.
-
Select [] for [] > [] in the setup menu.

Repeat this step for the second camera.
-
On the master camera, select [] > [], then highlight [] and press 2.
-
Date synchronization mode will be enabled.

-
Master camera clock settings will be displayed.
-
-
On the remote camera, select [] > [], then highlight [] and press 2.
-
Date synchronization mode will be enabled.

-
Remote camera clock settings will be displayed.
-
-
Press J on the remote camera.
-
The remote camera clock will be synchronized with the clock on the master camera via the network.
-
If the operation succeeds, the remote camera will display a message and exit to [].

-
Repeat Steps 3–4 to synchronize the clocks on additional cameras.
-
-
Press J on the master camera.
Date synchronization mode will end and [] options will be displayed.