The X (T) Button
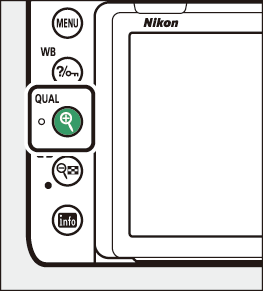
The X (T) button is used to adjust image quality and choose the size of JPEG images.
Adjusting Image Quality
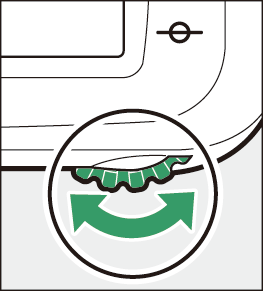
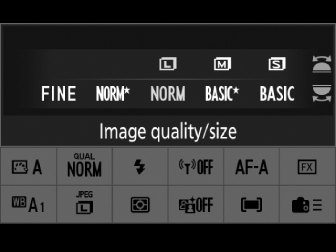
During viewfinder photography, image quality can be adjusted by holding the X (T) button and rotating the main command dial.
|
|
|
|
|
Option |
Description |
|---|---|
|
[] |
Record two copies of each photo: an NEF (RAW) image and a JPEG copy. For the JPEG copy, you can choose from options prioritizing image quality or file size. Options with a star (“m”) prioritize image quality, those without a star (“m”) file size. |
|
[] |
|
|
[] |
|
|
[] |
|
|
[] |
|
|
[] |
|
|
[] |
Record photos in NEF (RAW) format. |
|
[] |
Record photos in JPEG format. Image quality increases as quality progress from basic through normal to fine. Options with a star (“m”) prioritize image quality, those without a star (“m”) file size. |
|
[] |
|
|
[] |
|
|
[] |
|
|
[] |
|
|
[] |
Choosing an Image Size
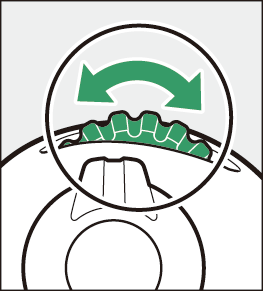
During viewfinder photography, image size can be adjusted by holding the X (T) button and rotating the sub-command dial.
|
|
|
|
Choose from [], [], and []; the selected option applies to JPEG photos. The physical dimensions of the photos in pixels varies with image area.
|
Image area |
Image size |
||
|---|---|---|---|
|
[] |
[] |
[] |
|
|
[] |
6048×4024 |
4528×3016 |
3024×2016 |
|
[] |
3936×2624 |
2944×1968 |
1968×1312 |
|
[] |
4016×4016 |
3008×3008 |
2000×2000 |
|
[] |
6048×3400 |
4528×2544 |
3024×1696 |
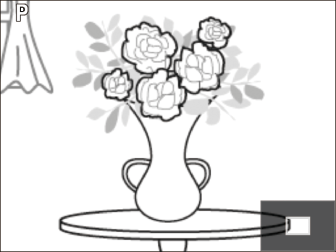
Press the X (T) button to zoom in on the view through the lens in the monitor.
-
The zoom ratio increases each time the X (T) button is pressed; to zoom out, press W (Y).
-
While the view through the lens is zoomed in, a navigation window will appear in a gray frame at the bottom right corner of the display.
-
Use the multi selector to scroll to areas of the frame not visible in the monitor.
-
During live view photography, image quality and size can be adjusted using the [] and [] items in the photo shooting menu.

